Tuesday, November 8, 2011

Household Printer tray

I most always have a hiding meaning in all the work I do. Most people wouldn't know where to look or what they were looking at. I also really love the printer tray deco that is so hot right now. So I found this tray at Micheals and thought I woould do one that means more then me then what anyone would understand. I have been asked to teach a class on this tray but you cant really put together a kit when everything in this tray has a meaning in my life! Mostly everything in the tray was "found" at my house.
 Over at Tammy Tutterow's blog she did a tutorial on how to make your house out of paper. I loved it! So yes that is my house at the top. If you are looking at my house on the right side is a tea garden that my husband and I built. And on the left side is the boat. As you can see in the tray both of them have their places! I love how the "garden" turned out! I used flowersoft to make the potted plants. I used muddpuddles for the "salt life" side.  

Above is the 4 boxes in the middle. Each person in my family has their own box. Everything in their box has a meaning behind it. The "dolls" and film ribbon are from Tim Holtz. The paper line I used to line the tray is Gabrielle from Bo Bunny.
So as you can see this is a very personal tray!! You can do it also!

Friday, July 8, 2011

Everyone loves to recieve!!!

So in my last post ya'll saw what I made for the Homemade exchange and today I got a present in the mail!!! LOVE IT!!!! I think that its funny that we both made something purple for each other!

Saturday, July 2, 2011

Homemade gift exchange

I stepped out of box and joined in on a Homemade gift exchange over at craftaholics anonymous!!!! And boy let me tell you. Nothing is harder then making something for a total stranger. BUT I did it!! And I hope she likes it. I wasnt sure how much to make or what to make. So I decided on a beach album (which I almost didnt want to give away!!!), a placque, and a few flower hair pieces. (Of course I forgot to take a pic of the hair pieces!) So below are the pictures. Hope she and you enjoy them as much as I did making them.


Thursday, April 14, 2011

Knit Wit

So I follow this awesome blog http://www.makeit-loveit.com/ and am loving it!!!! Lately she has a had knitting leasons. They have been great. Well today she is having a give away soo head over there NOW and learn to knit. Oh and stay awhile and look around.

Sunday, March 27, 2011

Shell glasses and frame

My cousin is getting married and her theme is Beach! Around here everything is BEACH and these glasses go for $30.00 a piece!!!! NOPE don't think I'm gunna spend that much (not that she isn't worth it). So on the hunt I went.

The glasses I found at walmart. They were 4 for I think about $5.00.
Next I found the Grout at The Home Depot. I think it may have been around $10.00 but there is quite a bit in it. (I have made 1 frame and 6 glasses and haven't used 1/2 of it) I picked a sand color but a friend of mine picked a white color. She thought she might want to add different colors to it later.

Next I added his and hers and the date of the wedding in a permanent pen. This has to be done on the top of the bottom and backwards so that when you tip the glass to drink this is what you see. You also don't want it rubbing off when cleaning. Now it's time to spackle the grout on and add shells.
These I added a star fish on them. Star fish are hard to come by so the other 4 glasses got sharks teeth.
The frame I did the same way but I painted it first. To save more money you could just take any old frame you have laying around and use it. 
If your wondering. I donated a set of glasses to my son's school for a silent auction and I still have the other 2. Trying to decide who I want to gift them to. They have a smaller stem.  

Saturday, February 5, 2011

Quilted Pillow

Its been awhile. Things are starting to slow down again..... ummm yeah does life ever slow down??????

So this wonderful friend made this awesome quilted purse for me and I loved the idea. So I found some fabric I really love. But then I was like "Do I really need another purse?" and I bought this really fuglly Queen chair that needs a pillow. So I decided to make a mini pillow for my chair.
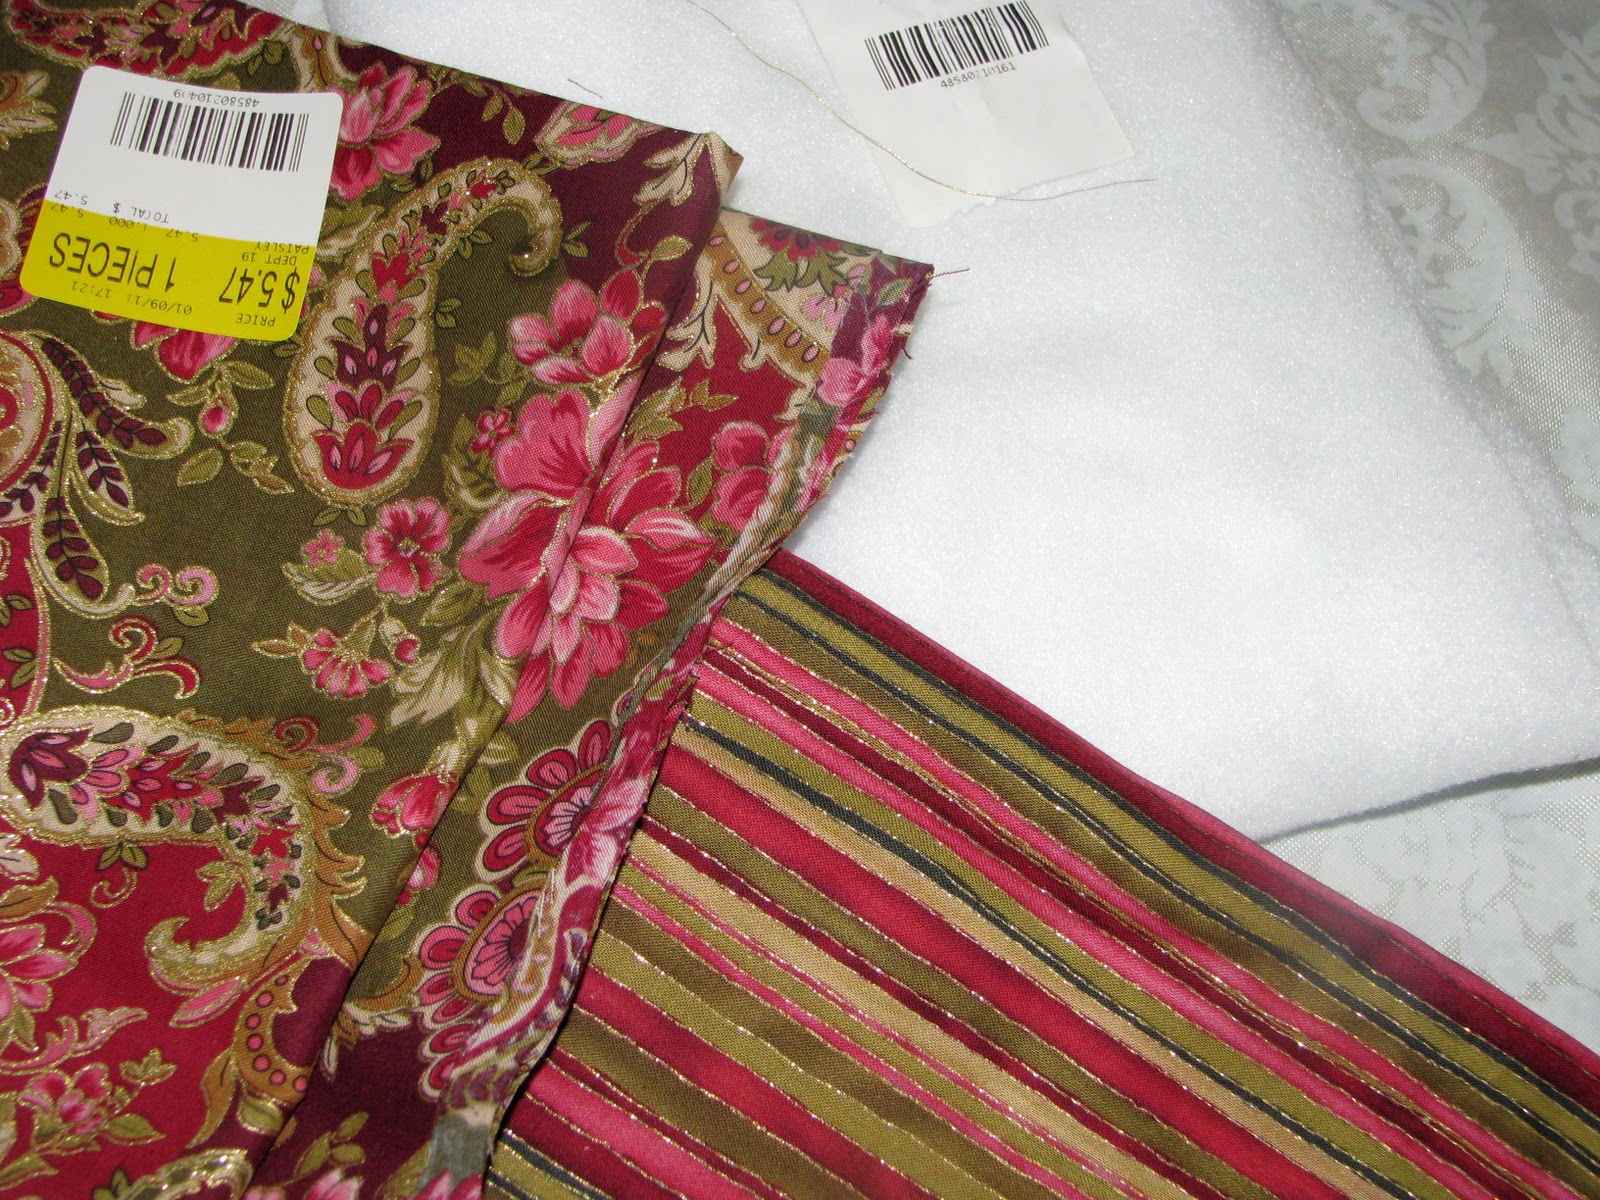
I picked one design to be quilted one for the back. I also picked up some batting and muslin.
My "travel" pillow is 12x15 so the the fabric needs to be cut to 14x17. Here are some more pics of the amazing fabric.
Then I pinned the front fabric, batting and muslin together.
Then I started to quilt!!! I used a really shinny gold thread doubled up.

Sorry its is blurry. But you can see that I sewed along the lines of the flowers and paisely. Oh and with the gold theard you can only "sew" about a foot or a foot in a half long. The thread is really a pain in the ass to work with. Below is a picture of the back of the quilted piece.
Below is a picture of the fringe that will go along the pillow. I wasnt going to do this but then I saw someone elses pillow and the fringe made ALL the diffarence.
So pin the fringe to the front side of the fabric.
After I pinned the fringe I taped down the fringe with painters tape to keep it out of the way while sewing. Then I sewed along the line closes to the loose hangie pieces!!
The picture above shows the line where I sewed the fringe on. DONT take off the tape!!!! Keep it on until after you finish the pillow. I cut the back fabric so that it is 2 pieces and I made a hem on two off the ends. Then over lapped them by 1.5 inches and sewed the 2 pieces together. Then I laid the back piece on the front piece and followed the line that sewing the fringe made.


Now turn it right side out and take off the tape!!
And stuff with pillow.
Here it is on my fuggly Queen Chair. Yes some day I will recover this chair.